Designed by Autodesk, it is a computer aided design (CAD) software used to create designs and prototypes of certain mechanical pieces using 3-D modeling. Models can be designed in both 2-D and 3-D.
Widget 5 - First 3-D Printing Project
Listed below are the steps to create Widget 5:
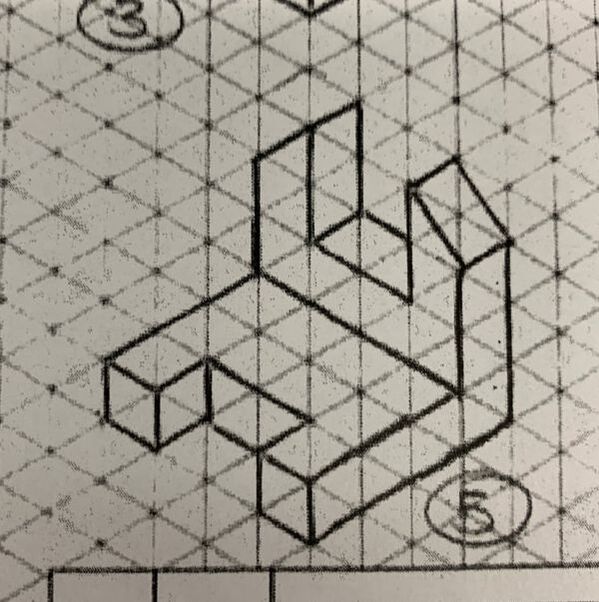
Out of the 6 widgets drawn in class, I worked on Widget #5.
|
|
|
|
|
|
|
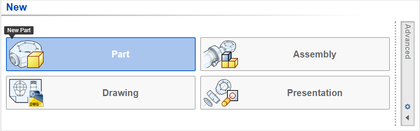
1. Open the program and create a new part
|
|
|
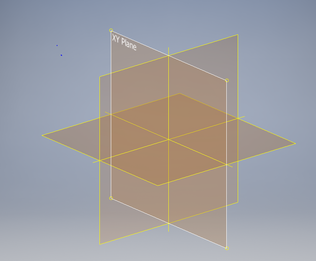
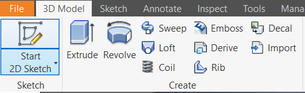
2. Choose a plane and select "Start 2D Sketch"
|
|
|
|
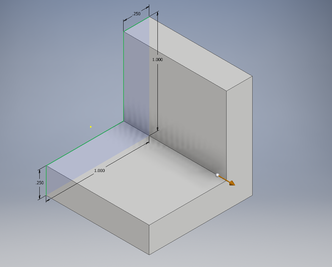
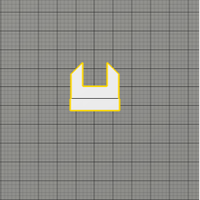
3. Begin a 2D sketch by drawing a line and then create an "L" shape. Then select "Dimension" and create the following dimensions. Once done, select "Finish Sketch".
|
|
|
4. On the left side of the toolbar, we select "Extrude" to create a 3D model of our drawing. Under the depth of the extrusion, we want that to be 1 inch.
|
|
|
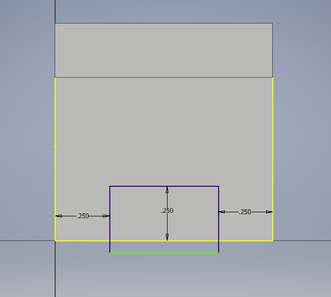
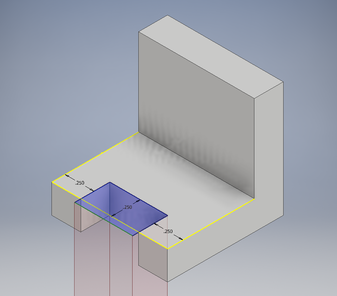
5. Widget 5 has 2 separate cutouts and 2 diagonal lines on the final piece. Currently, we are working on the bottom portion of the Widget. To cut out the piece on the Widget, we must begin a new 2D sketch and select a rectangle. From there we must dimension it to these dimensions.
|
|
|
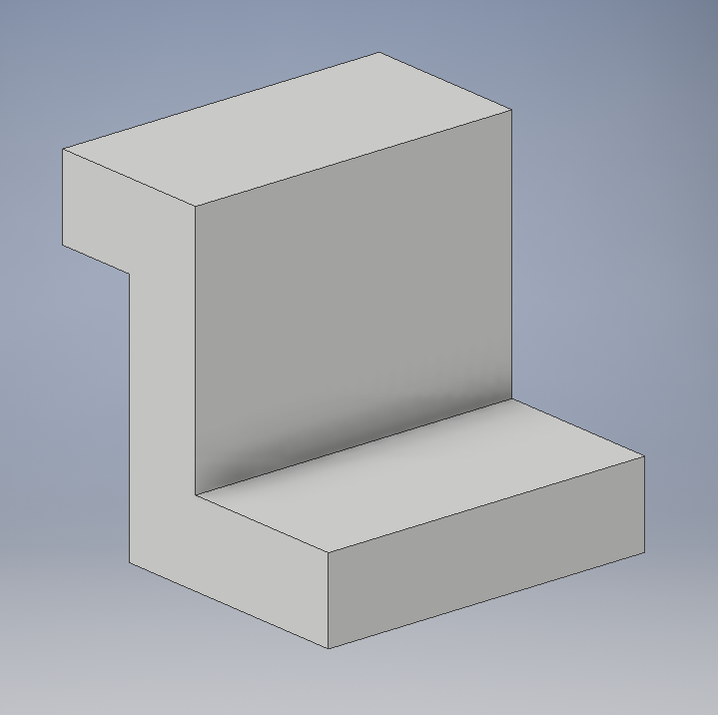
6. We now must delete this portion of the widget. To do this, we must extrude again, select the portion we need to delete, and change the depth to 0.25 inches. I accidentally changed my depth to 0.75 inches, but it doesn't matter.
|
|
|
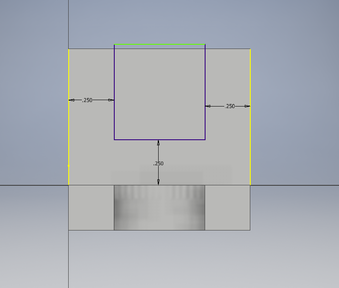
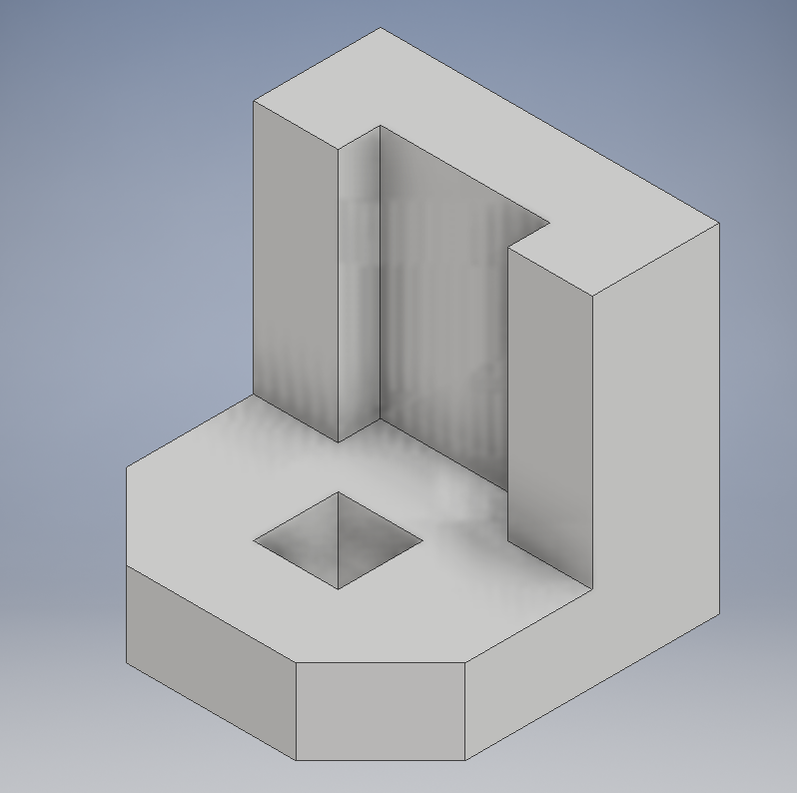
7. We will now be removing another piece that must be removed. Using the same procedure as before, we will be creating a new 2D sketch with a rectangle, using these dimensions.
|
|
|
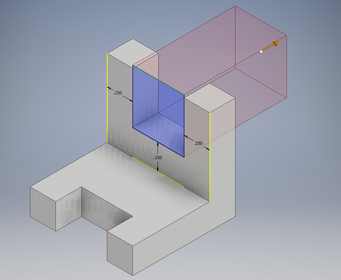
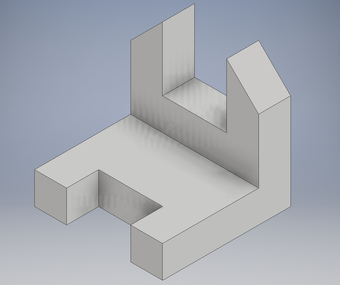
8. We now must delete this portion of the widget as well. To do this, we must extrude again, select the portion we need to delete, and change the depth to 0.25 inches. I accidentally changed my depth to 0.75 inches, again, but still doesn't matter.
|
|
|
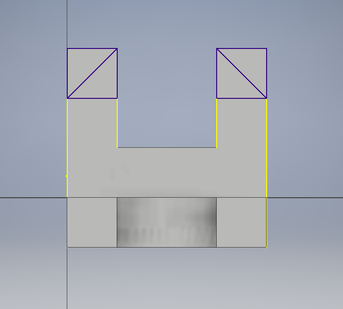
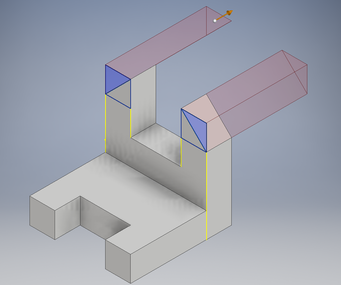
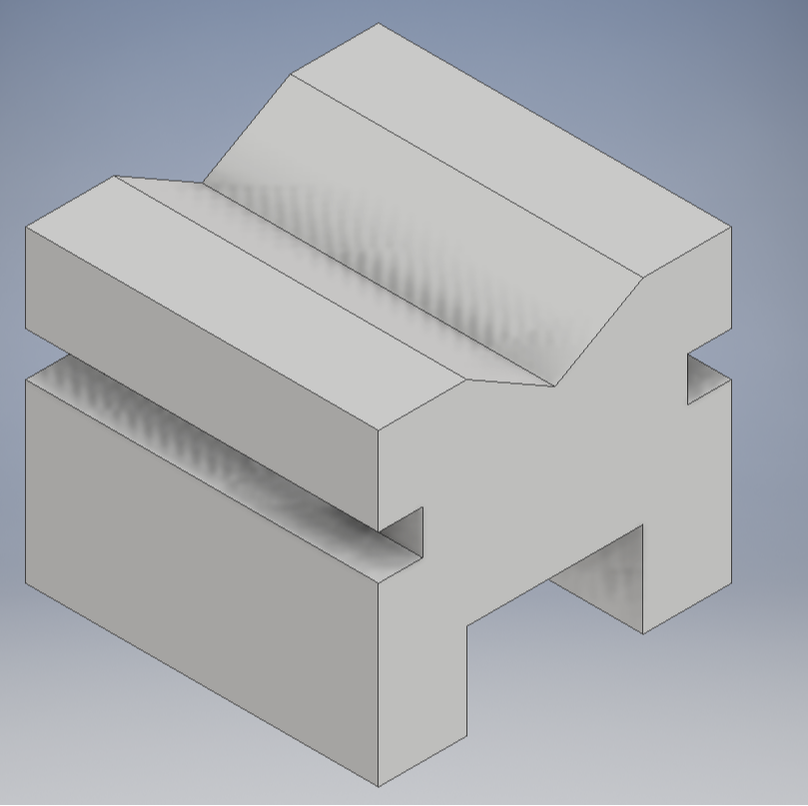
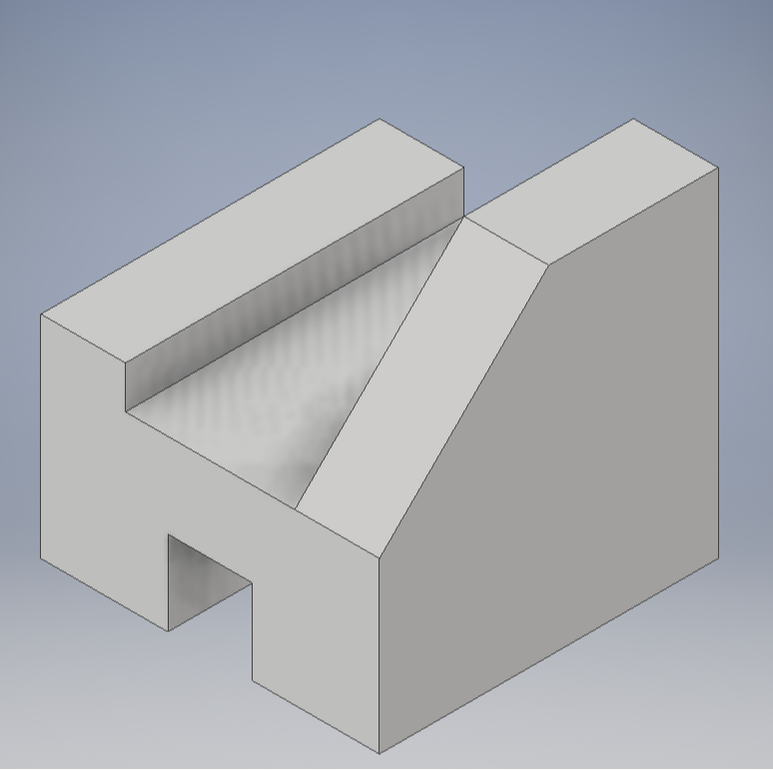
9. To create the diagonal edges we will be creating a new 2D sketch, when using the rectangle tool this time, we will be making it a square matching it perfectly along the edges of the widget. To create the edges, we will draw a line on the diagonal of the square.
|
|
|
10. We now must delete this portion of the widget as well. To do this, we must extrude again, select the portion we need to delete, and change the depth to 0.25 inches.
|
|
|
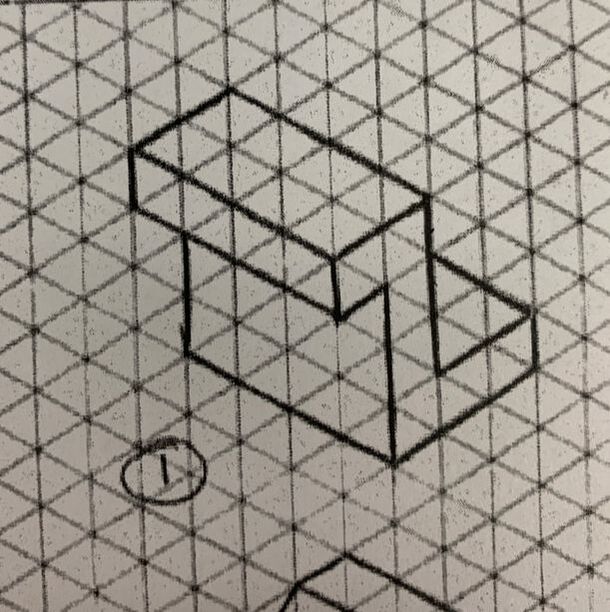
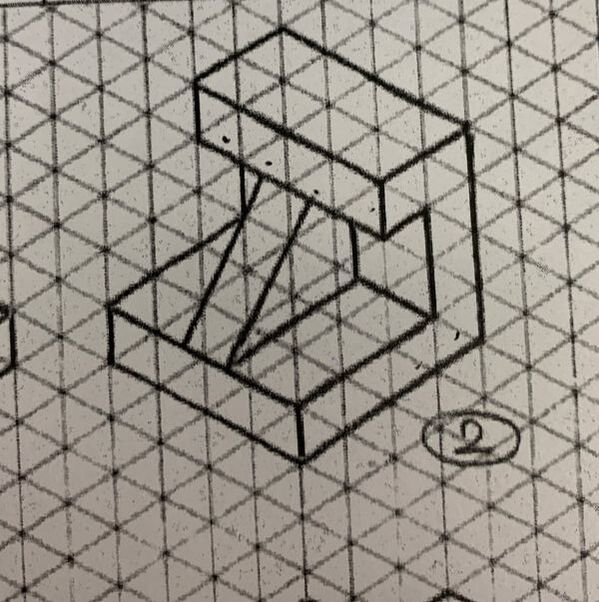
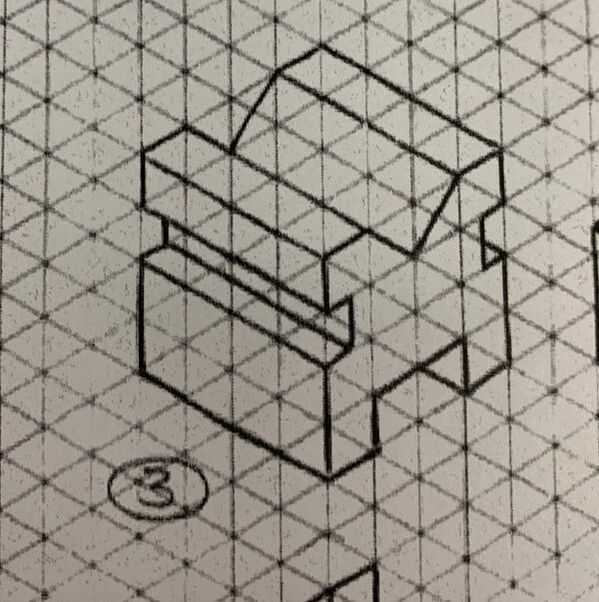
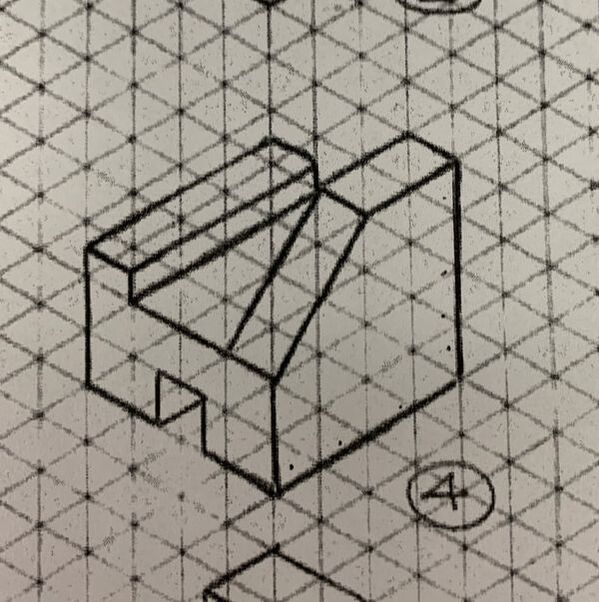
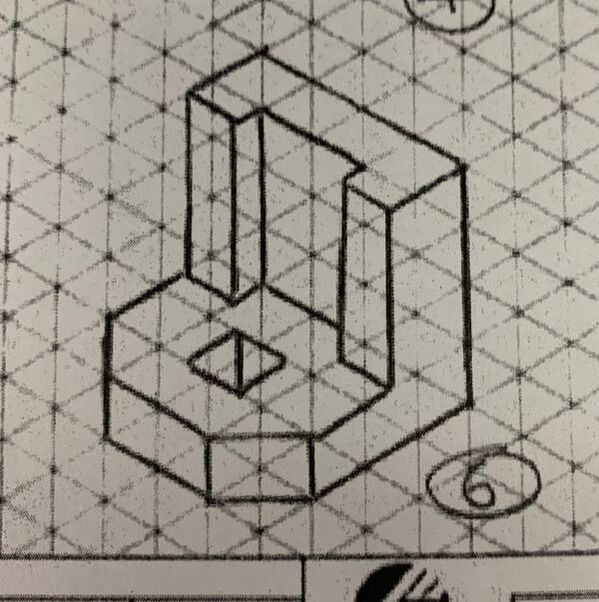
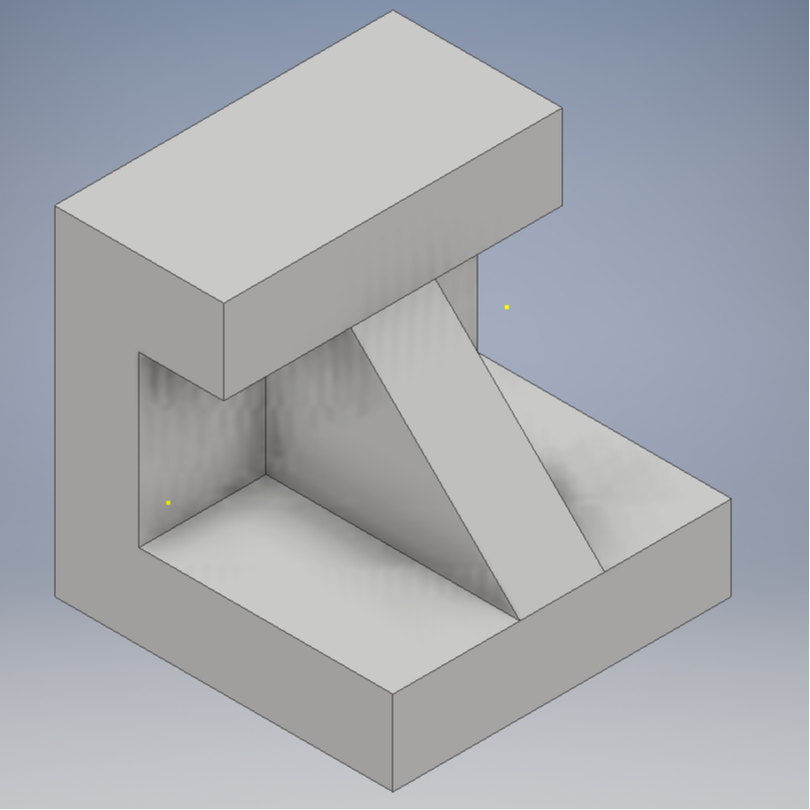
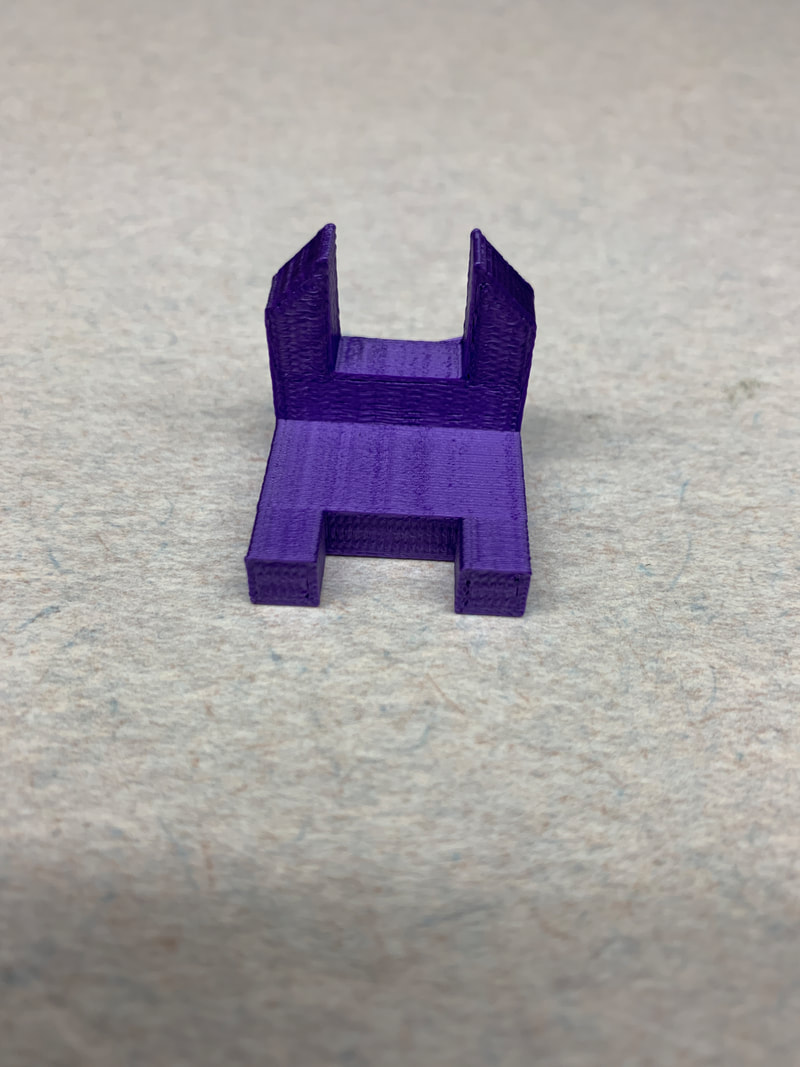
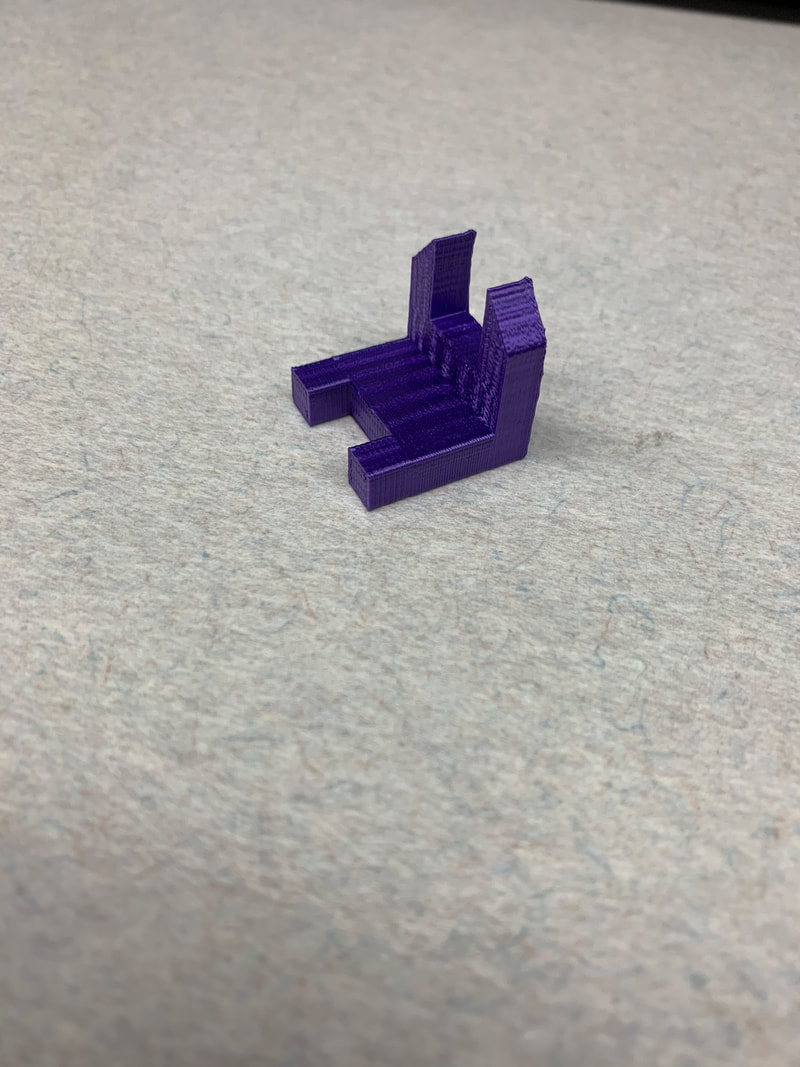
Here is the finished drawing. Shown below are completed drawings of the other 5 widgets.
|
|
|
|
|
|
|
Printing the Widget
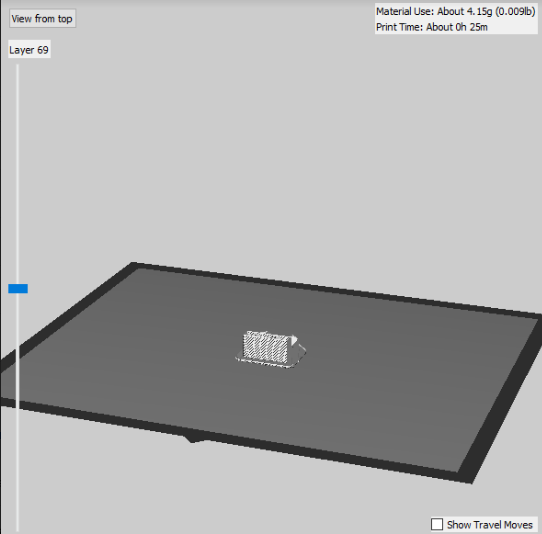
MakerBot, the software used to prepare the widget for printing, is the program used in the class. Using this program, I ensured the final dimensions were set to 1 inch on each side, which is converted to 25.40 mm. I made sure it was laid flat on an even surface. Then began saving the data to my USB Flash Drive. I then inserted my Flash Drive into the 3D printing machine and let it go to work.
|
|
|
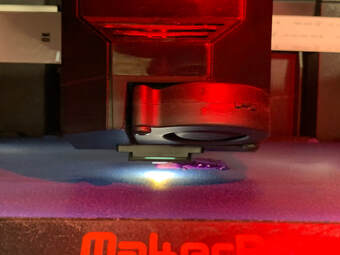
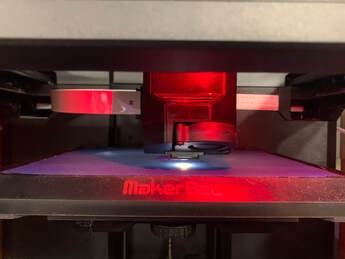
3D Printing
|
|
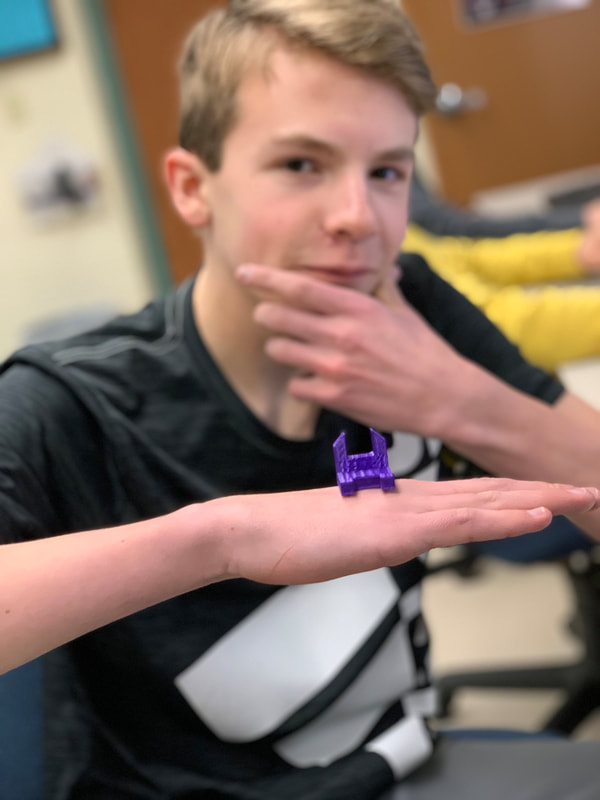
Finished Project
|
|
|
What did I learn?
During this whole process, I learned many things. I've never used a 3D printer before this class, and have never really used Inventor. I'm very glad that I was able to work with this equipment in the Innovation Center. I found Inventor a bit tough at the beginning, but then felt much better and more comfortable using the program. Although I do regret not taking IDEA my freshman year, I am glad I took it this year, as I am enjoying the class so far, especially after this unit.
